
I always love baking. I can try to bake any eye-catching new recipe of desserts and cakes. But as much as I wanted, whenever I saw the recipe of making bread-on-my-own, I got terrified. But again, it was totally in the past. Now, I can say that I am a bread-maker pro. Thanks to this tangzhong recipe that I found from the internet.
By adding this simple little new technique, makes my bread always springy and soft even after storing them for three days. Tangzhong adds more moisture to the bread. How to make it, is very simple and easy too. Get a sauce pan and put together bread flour and water. Stir until combine before putting it on the heat. Medium heat will do the job, because this mixture can easily get burned. Keep stirring until the mixture turns thick, slurry and glossy, by then this tangzhong is done. Put them aside, cover with cling wrap and let it cool before adding it to the dough mixture.
 |
| Tangzhong |
 |
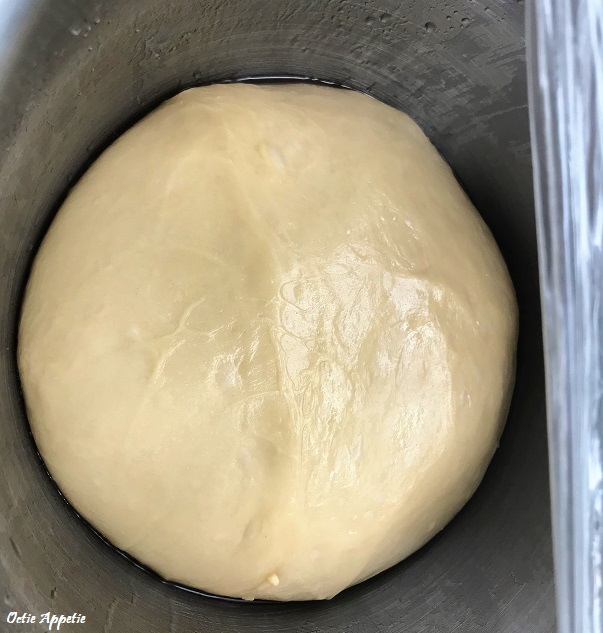
| Proofed yeast |

After that, gather all ingredients for the dough. I kinda breaking the rules here and it works. I combine all ingredients in a whisking bowl in one go. Flour, milk powder, sugar, salt, eggs, butter, tangzhong and yeast mixture, they all inside the bowl at the same time all set to be stirred. I do this way everytime and I still get my desired result.

Whisk the mixture for about eight to ten minutes. Start with low speed until it forms a sticky mass then increase the speed to medium high speed until it reaches an elastic ball shape. From a sticky dough, it will eventually turns into an elastic dough and it will slide down from the dough hook as well.
Another way to check whether your dough is ready or not is by performing stretch test, the dough can be stretch and creating a semi-transculent film without breaking it. We are halfway through now. Keep your dough in an oiled bowl and cover it with cling wrap or wetted kitchen towel until it doubled. Brushing your bowl with oil will help when taking the dough out. Thanks to oil, it makes life easier. Oil is also can be used on your shaping mat instead of flour. I found it is much more convenient and efficient.

Once the dough are set to rolling and shaping, remove it out from the bowl and transfer it to a rolling mat. As I mentioned earlier that you can brush the mat with oil instead of flour to reduce some stickiness, but again if you need to, otherwise this recipe won't necessarily require any extra oil. Then lighly punch down and knead the dough in order to help releasing the air trapped in the dough.
Next, divide your dough in uniforming weight. If you are making dinner rolls or plain bread rolls, after you scaling them into individual sizes, just round it to shape into a smooth round ball. Then transfer them to a tray and wait for another 10 minutes or until it doubles in size for the second proofing stage.
If you want to put any topping on your bread like I do with some floss pork. You need to do the above steps up to the second proofing phase before doing the topping. But do it gently and without pinching the proofed dough otherwise your bread won't rise when baking.
If you doing the filled bread, you need to put the filling just before you round them. So after you divide the dough, flat it, put some filling and then shape it into a ball. And transfer it onto a tray for the second proofing before baking them. This process is also used when making the sweet chilli and cheese scrolls.
 |
| Rolling the bread for making sweet chilli and cheese scrolls |
 |
| Floss pork and mayo bread |
 |
| Chocolate filled bread |
While they are still pipping hot, I like to brush them wih some evaporated milk. It will give them shinnier look and slightly sweeter taste.
 |
| Plain roll |
 |
| Plain roll with butter cream and shredded cheddar on top |
 |
| Sweet chilli and cheese scrolls |


|
||||||||||||||||||||||||||||||||||||||||||||||||||||||||||||||||||||||||||||||||||||||||||||||||||||||||||||||||||||||||||||||||||||||||||||||||||||||||||||||||||||||||||||||||||||||||||||||||||||||||||||||||||||||||||||||||||||||||||||||||||||||||||||||||||||||||||||||||||||||||||||||||||||||


